Awesome Autumn Maintenance Part 1
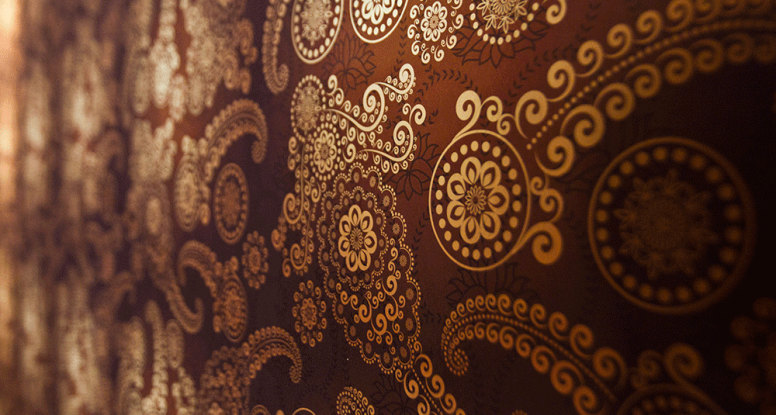
Washable Wallcoverings
Autumn is often seen in nature as a chance to gather up the last of the nuts and squirrel them away for winter. As it heads towards winter, keeners start preparing for hibernation time. These days, you are probably less concerned with making sure you have enough nuts, or even fur to keep you warm, and more with making sure your house is prepared for cold weather. And while you’re at it, maybe the inside could use some attention as well. Your grimy wallpaper, in fact. After all, if you’re anything like us, you’re too busy going to BBQs and laying on the beach to worry about maintenance in the summer.
Oh, but you take care of maintenance-related cleaning during your spring cleaning rounds? Well guess who’s coming over this Christmas. Persnickety Great Aunt Myrtle and Cousin Judge-a-Lot Jake… But don’t panic! We can set you up with maintenance tips that will have your walls looking so swanky and spotless that not one of your relatives will be able to find anything to judge you about. (Can’t help you on not drying out the turkey though – that’s another blog entirely.)
Cleanliness is the secret to keeping your wallpaper looking great and lasting longer. The first step is to check your manufacturer’s guidelines or to contact the manufacturer for the particulars on the wallpaper you have installed. Due to the variety of types of wallpaper available, knowing whether your wallpaper will stand up to washing is crucial. Most wallcoverings are labeled “washable, “non-washable”, or “scrubbable”. In an ideal world, if you were working without knowledge of which type it was, you would have a small sample you could test from a residual roll left for repairs. If this is not the case, it may be preferable to test a small section beneath a switchplate cover. Until you know what you’re dealing with, choosing somewhere inconspicuous is key. Once you have an area you can test, wipe it with a damp cloth. If the wallpaper doesn’t change color or appearance, it can probably be treated as a “washable” wallpaper.
This month, we will be talking about “washable” papers. Don’t let your wallpaper get too dirty before cleaning it. This is a vital part of protecting your investment. Before you get to the washing part, remove dust and cobwebs by vacuuming the walls with the brush attachment. (Finally! A use for that nozzle!) Alternately, a long handled soft brush or a clean cloth tied to a broom or mop will get the job done. Remember to change the cloth frequently to avoid pushing the dirt around and causing streaks. Try to lift cobwebs, rather than brushing them down, as they may cause streaks. Dust the ceiling first if it is papered.
Now for the wet part. “Washable” papers generally have a plastic coating, allowing you to clean them with a damp cloth or sponge. You want to use water sparingly and never really get the paper that wet. Definitely no soaking! While you can buy wallpaper cleaners, it may be just as easy to make your own by putting together a sudsy, yet weak solution of mild dishwashing detergent and cool water. No hot water! Or, if you’re less worried about grease, you can make a white vinegar and cool water solution. In a second bucket, ready a cool rinsing water. Have plenty of soft clean cloths on hand so you can avoid spreading wet filth around.
Start with the ceiling, regardless of whether it is papered or painted. Then clean the walls from the bottom up, gently wiping overlapping areas with a circular motion. Start with the sudsy cloth or sponge and follow with the rinsing cloth. Always do a final rinse with clean water using this same method. Carefully pat the wall with a clean, soft cloth or towel to remove any surface water or left over moisture. Wipe down the walls at least once a year.
Do NOT:
– Use aggressive rubbing.
– Use harsh solvents that damage plastic finishes
– Use abrasive tools, like brushes or steel wool
– Use powdered cleaners, tar, nail polish remover, etc.
These simple steps will go a long way towards preserving and extending the looks and durability of your wallcovering. Stay tuned next month for more maintenance tips!